DIY Henna painting with Earth Henna
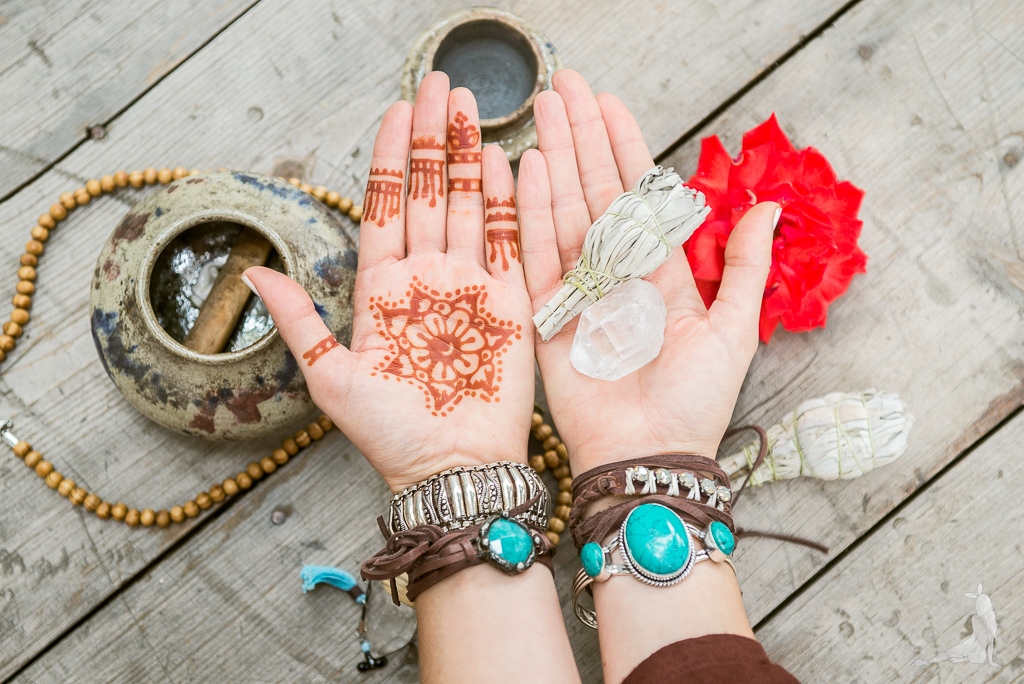
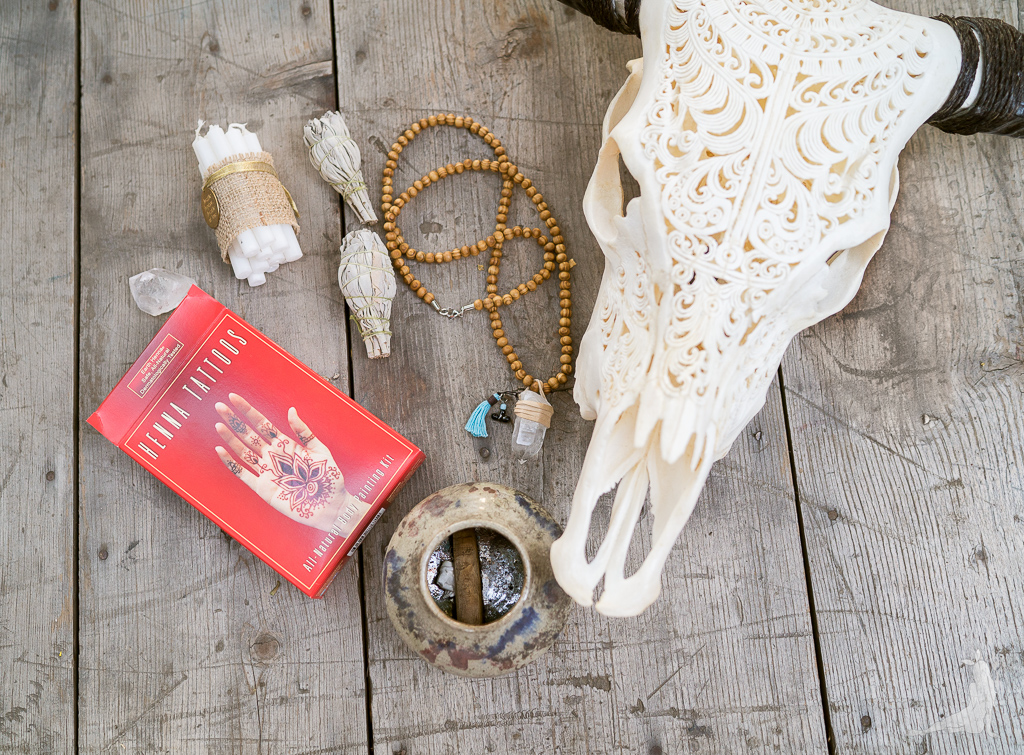
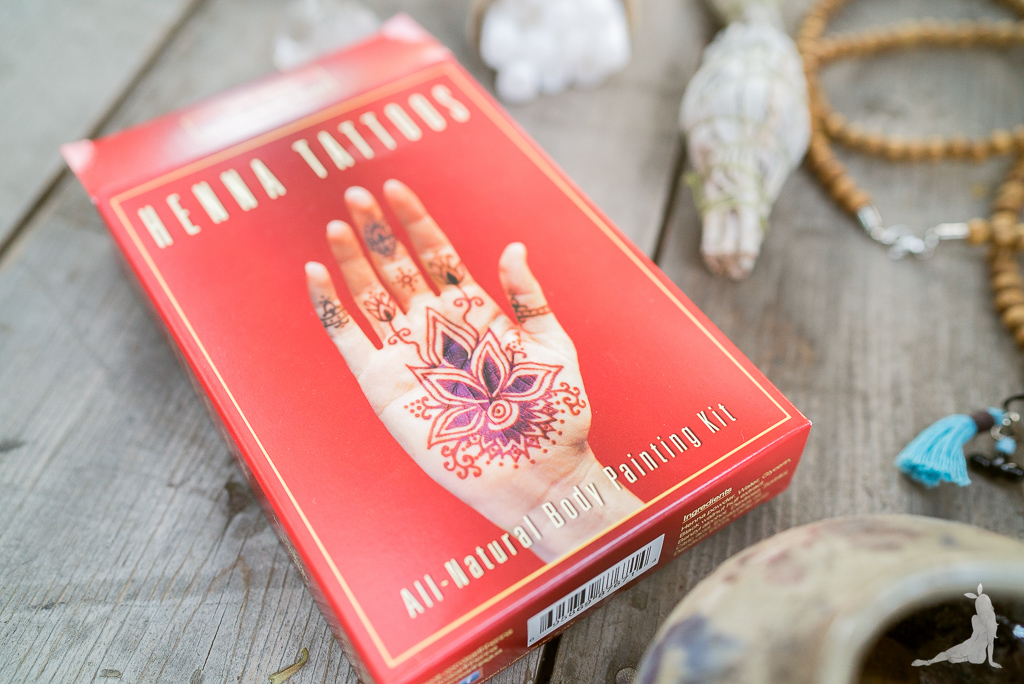
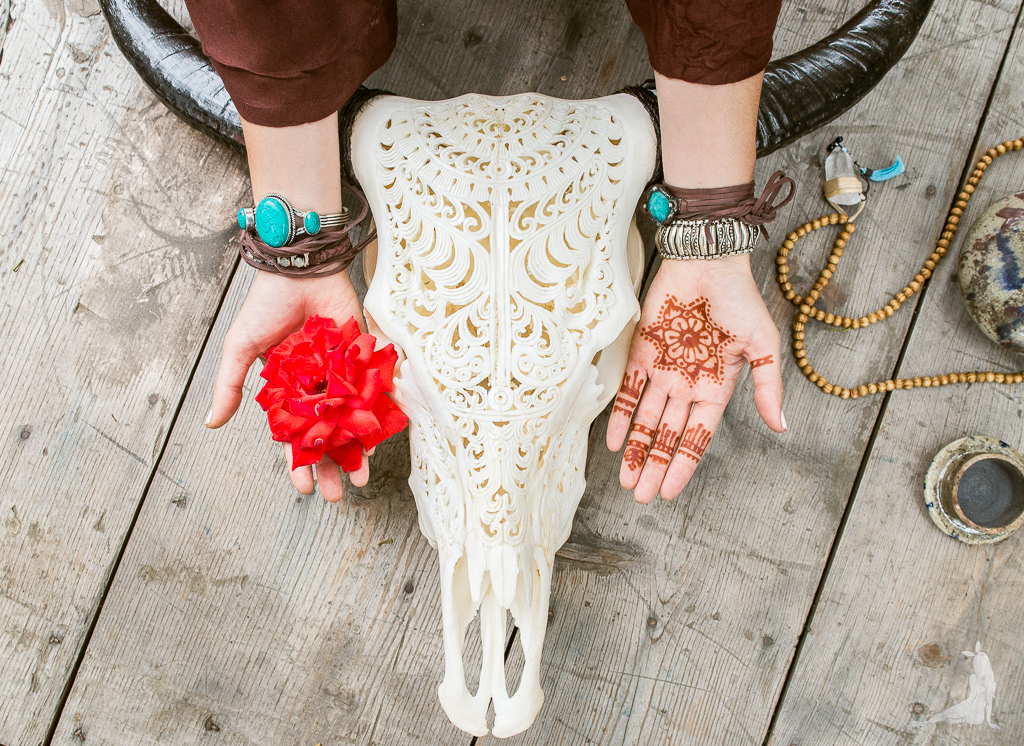
Believe it or not I don’t have a single tattoo. As an artist and musician you would think by know I would have accumulated a couple over the years. While I LOVE tattoos on other people I’m actually completely terrified of having a piece of artwork permanently placed on me. As a non-permanent option it surprisingly took me this long to play around with henna. With lots of henna inspired clothing prints, home decor (even the amazing cruelty-free carved skull above that I’m completely obsessed with) it’s about time I decided to try it out on myself. With this SUPER easy to use DIY henna kit, that can even be refrigerated and used again weeks later, I created some really rad body art that only requires a week’s commitment.
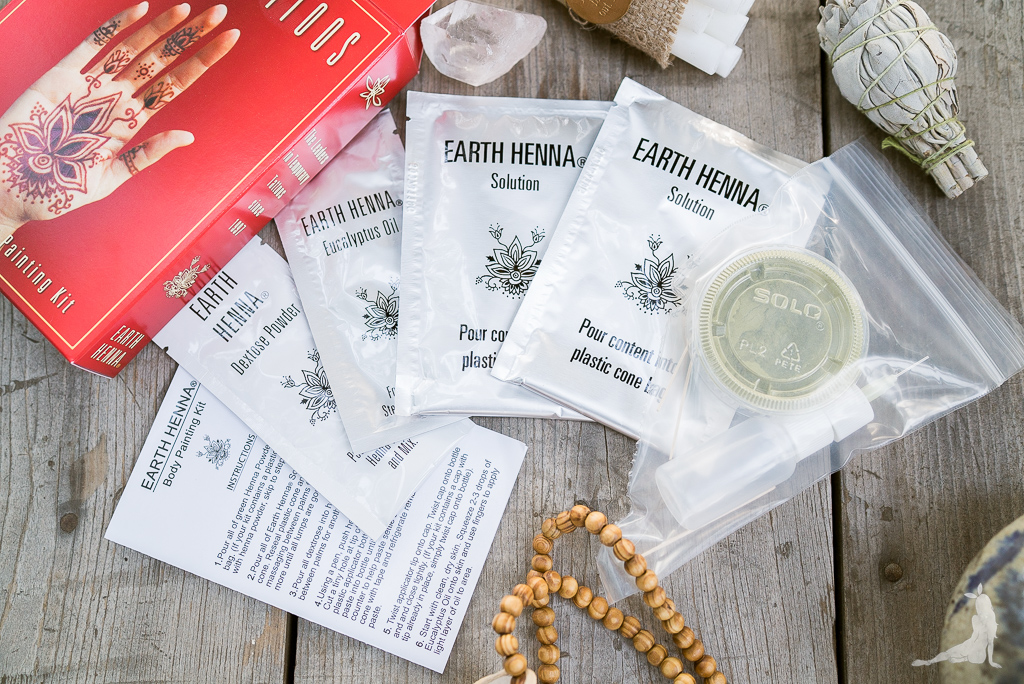
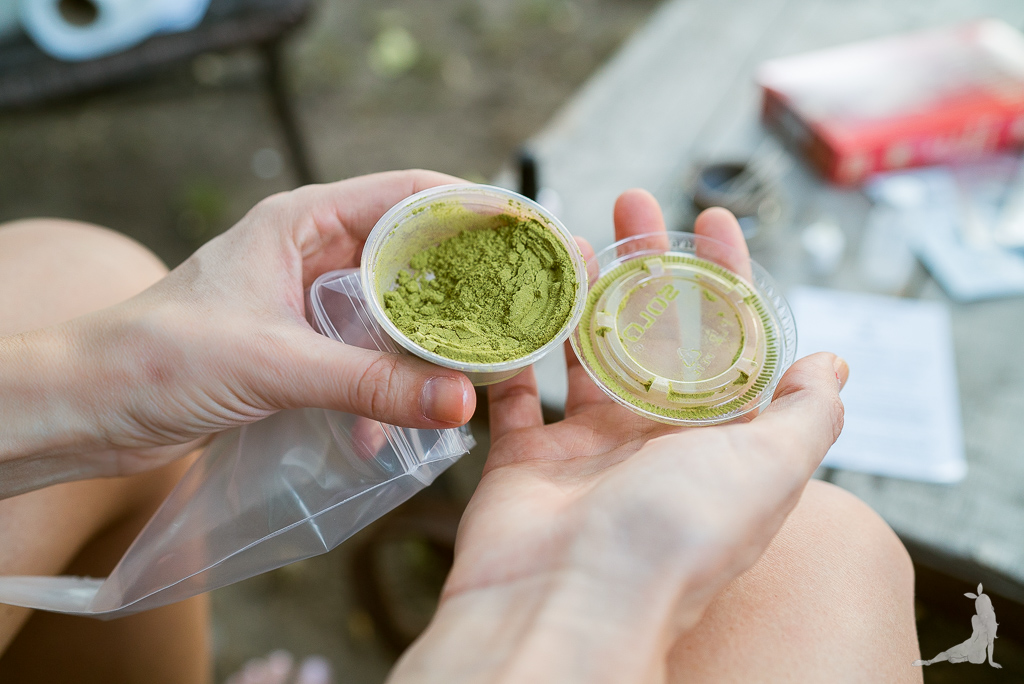
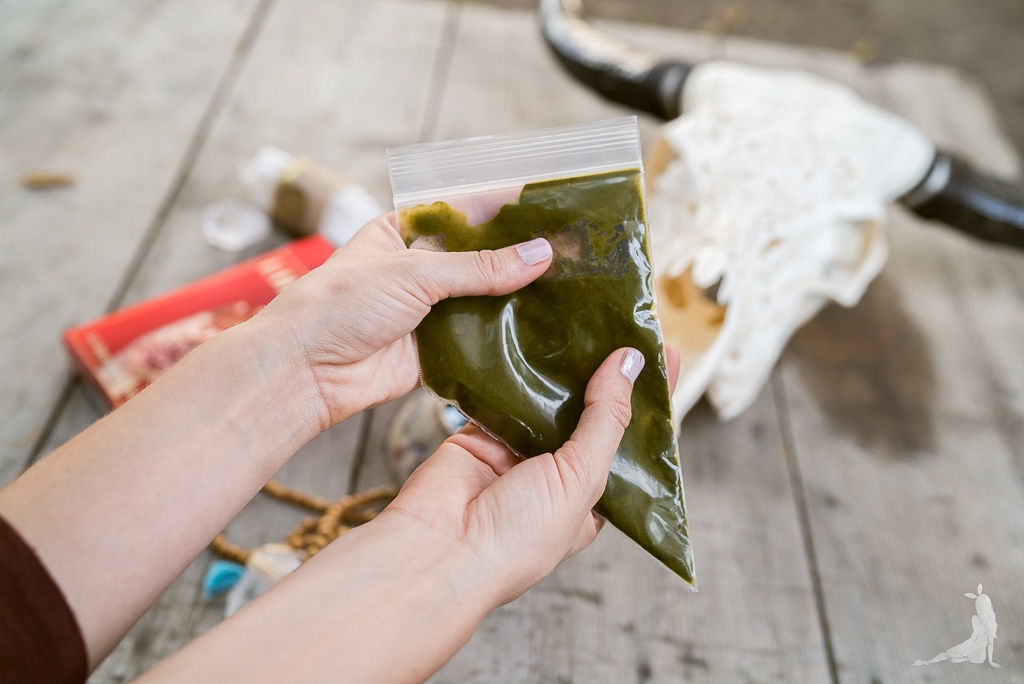
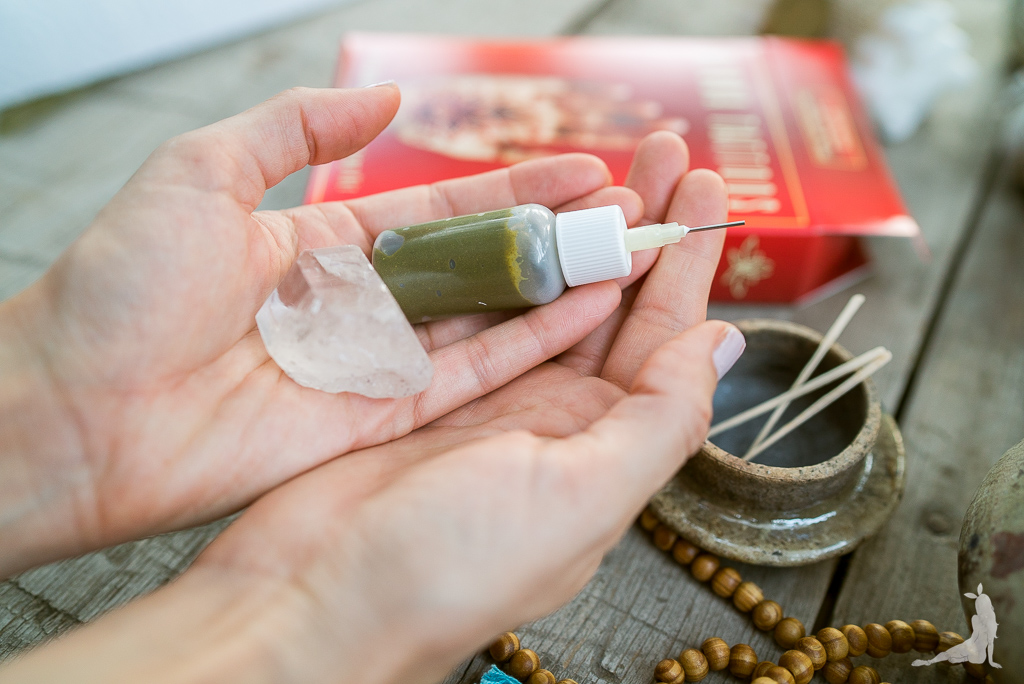
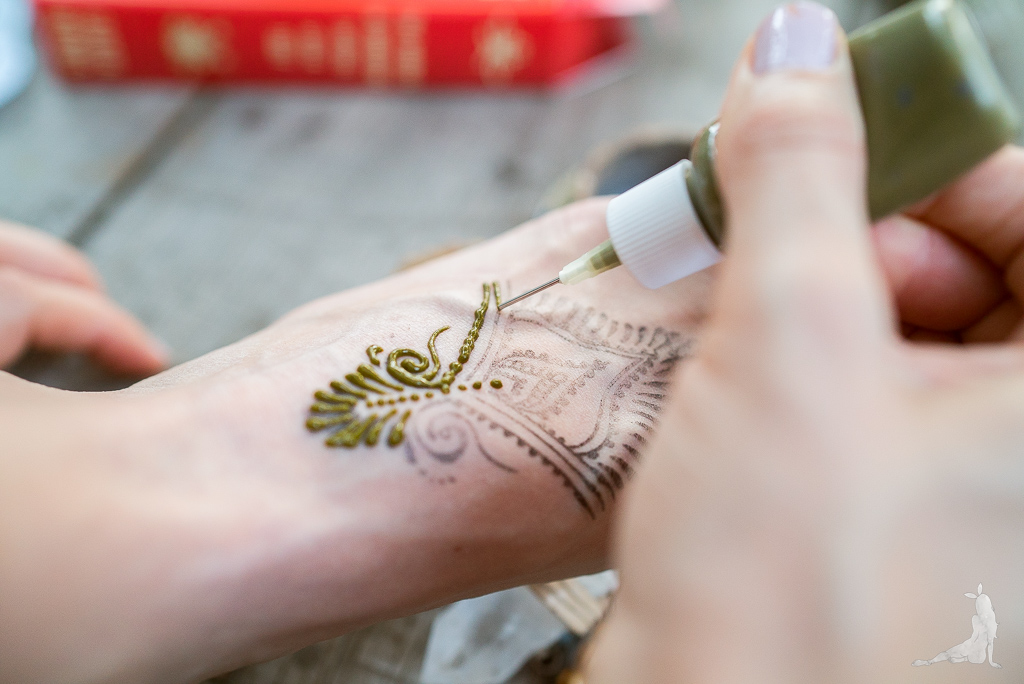
Everything comes neatly organized in little packets, even a plastic bag funnel to squeeze the contents into the applicator bottle.
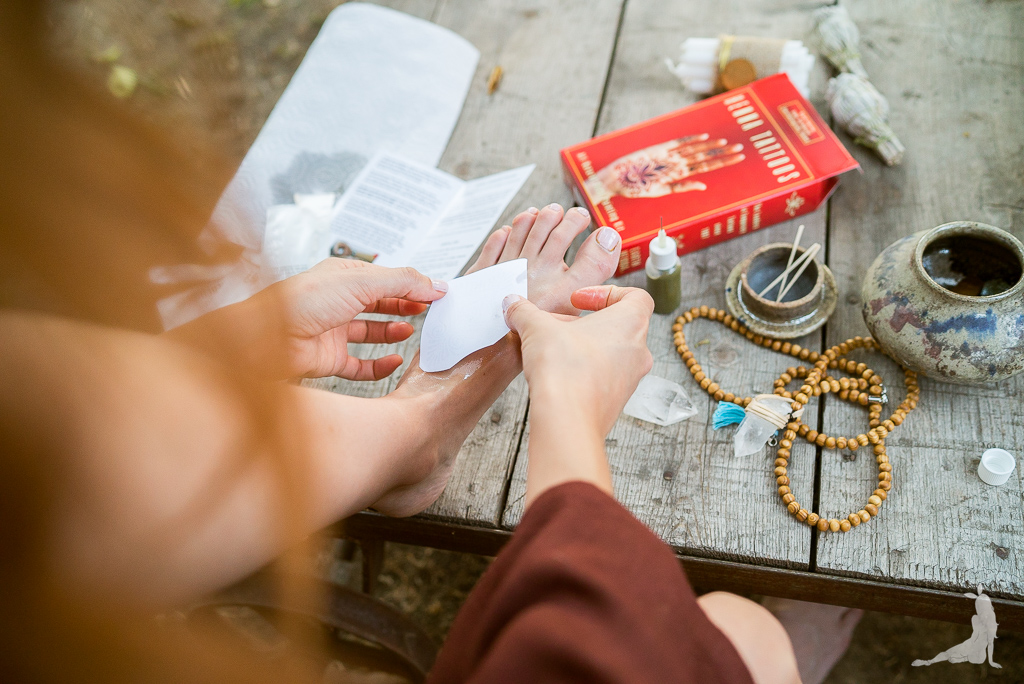
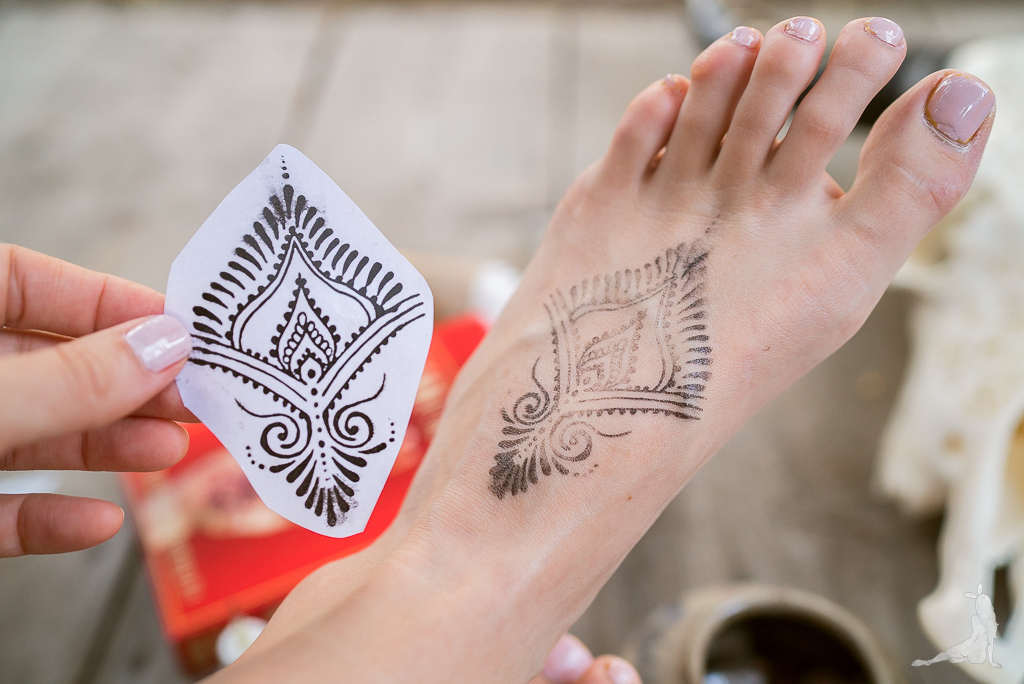
Earth Henna comes with two pages of ready to go designs. All you have to do is cut out the paper, apply a little bit of eucalyptus oil to your skin and hold the paper face down with the ink for about 30 seconds. Once the henna is completely dry and ready to peel off, the temporary black ink disappears with a little soap and water.
Just like when I paint, applying this henna was really relaxing and therapeutic. Until you get used to the shapes and sizes of your henna designs, I highly suggest using the pre-made designs. They fit perfectly on your feet or hands and help you keep your designs symmetrical.
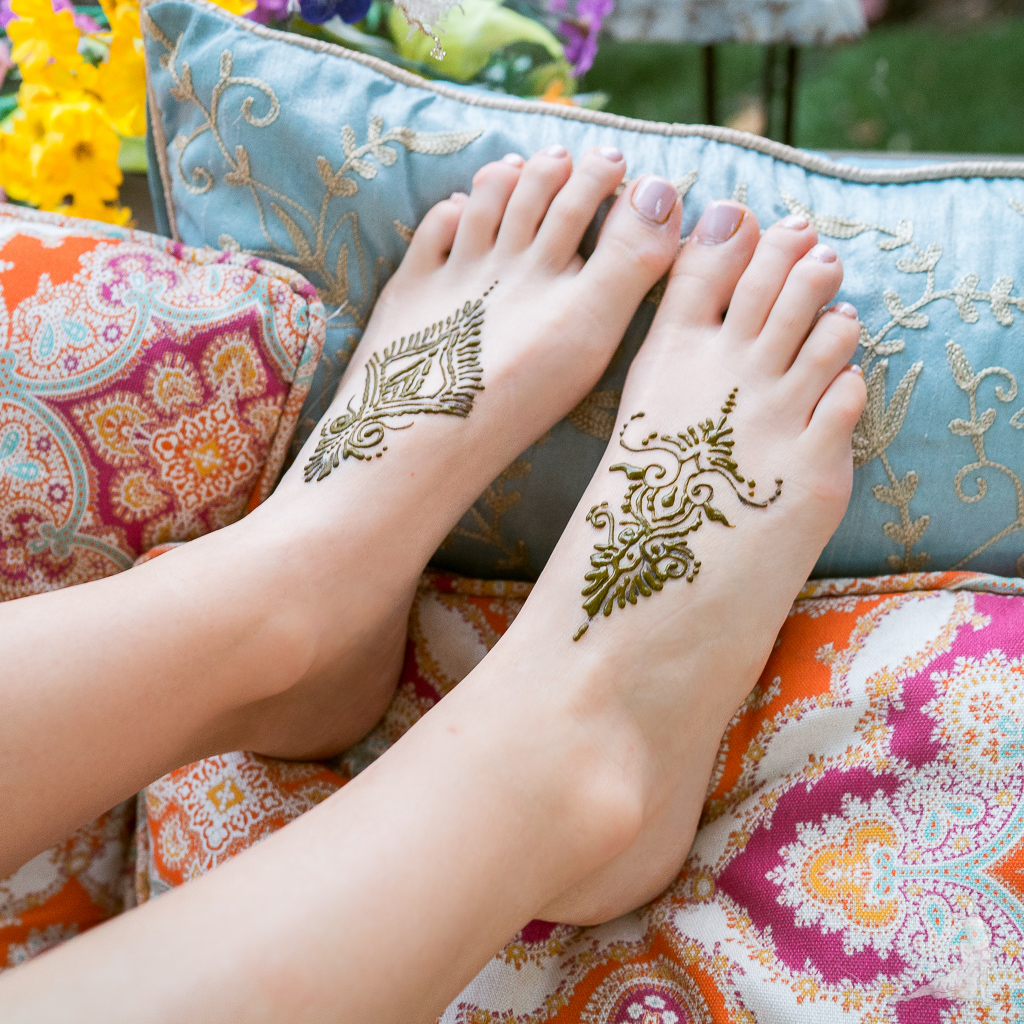
Right after the henna application the design stays wet for a good hour or so. I was able to put sandals on over the dry design after a few hours. The design will get dry enough that you can pick off the raised henna and you’re left with the stain on your skin. What I discovered is if you use the freshly made solution, I would definitely let the design sit overnight. I put the leftover solution in the fridge for over a week and reused the solution. After the mixture sitting for that long, the stain penetrated my skin much faster so you could get away with only leaving it on for 4 hours or so for a full effect.
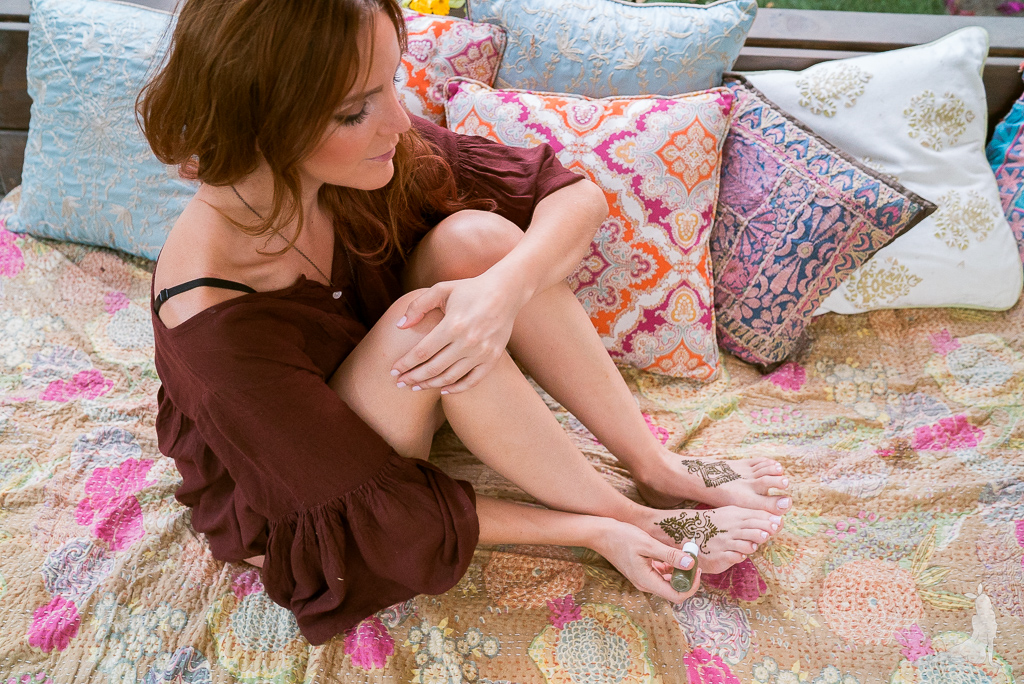
The ultimate look with an ornate cow skull carving, henna, mala and gypsy jewels!
DIY Henna Kit Earth Henna / Gypsy Bracelets Gypsy Junkies / Skull Bliss Carved Skull / Crystal Mala Pachamama Bohemian / Bohemian Top Pachamama Bohemian
Photos by Justin Zangerle

Oh whoa! You did such a great job with that! I love henna, I’ve always found it fascinating! I remember discovering that art as a kid when I went to Tunisia with my parents. It truly takes skills, especially when those women draw without a pre-made design!
xx Sonia
Love it!!! Thank you so much for sharing with #LINKUPWITHLISA @ http://www.beauty101bylisa.com/2015/07/linkupwithlisa-25-my-new-favorite-gel.html
I haven’t gotten a henna tattoo in forever! They are so pretty though. Thanks for linking up to Flashback Fashion Fridays!
~Jessica
Jeans and a Teacup
So cool … love how a henna tattoo accents your gypsy boho vibe!
Thanks for always being so supportive of Fun Fashion Friday!
OXOX
Dawn Lucy
http://fashionshouldbefun.blogspot.com
The designs are so pretty!
Dear Andrea,
Being a boho girl myself, I dig your website!
I have a question and I hope you are willing to help me out. I’m working on a new (voluntary) project: a guide filled with boho hotspots from all over the world. I ADORE the first picture you have made for this blogpost, and I was wondering… Would you give me permission to use it? It suits my project SO well! 🙂
(I’m actually looking for contributors, so that is another question for you. Perhaps you are interested?)
Well, I hope you can let me know… Keep up the good work! 🙂