A preview into the process of homemade vanilla extract
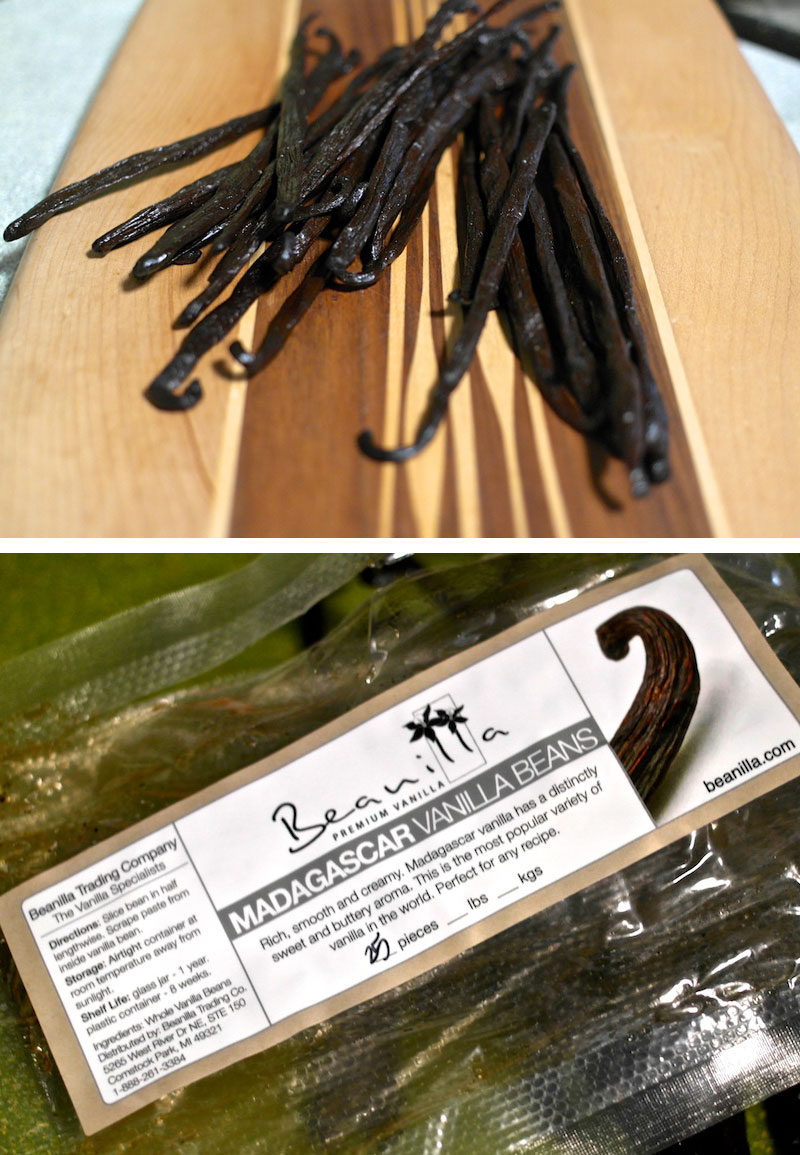
So, why just a preview? Well, the whole process isn’t finished yet (it takes a few months to age) but I’m so excited about this simple DIY project that I had to share! It all started with the making of the almond milk a few weeks ago and a realization that we could even make our own vanilla extract to put into our homemade almond milk. What’s next…grow an almond farm? Ha! We found that too, but that’s for a later post:) As you might know vanilla beans run on the pricey to the extremely pricey side. We found a company that online, Beanilla, that sells airtight sealed beans for a SUPER reasonable price!
Vanilla beans (4-6 beans per cup of rum or vodka you want to use)
Lots of rum or vodka–750 ml bottle will do the trick (we used both to see which we like better)
Glass jars such as a large mason jar. We recycled a Kevita bottle for one batch too
Labels–trust me, after storing this stuff for months you’re gonna forget what’s in each bottle
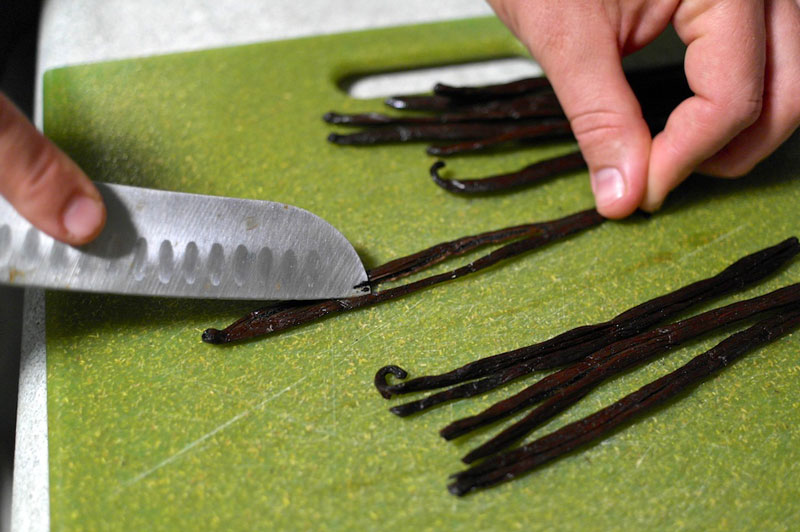
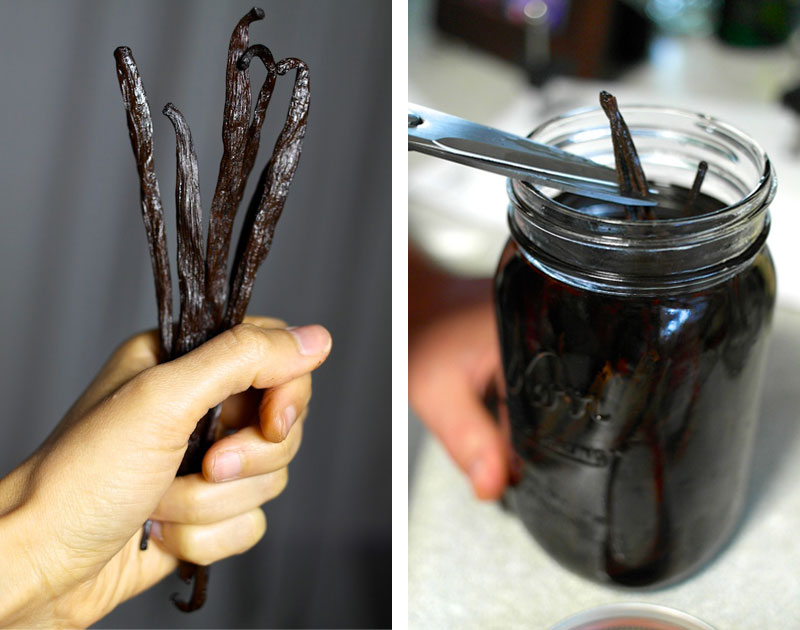
Make sure to cut each vanilla bean lengthwise in half. This opens up the flavor to the rum or the vodka. Note: when calculating beans for the rum or vodka to bean ration, make sure that you’re counting the WHOLE bean not just the halves.
These beans are sooo aromatic! They arrive in a state similar to a date or a dried apricot…a little sticky and so flavorful! I couldn’t get the scent off my hands the entire next day–a good problem to have:)
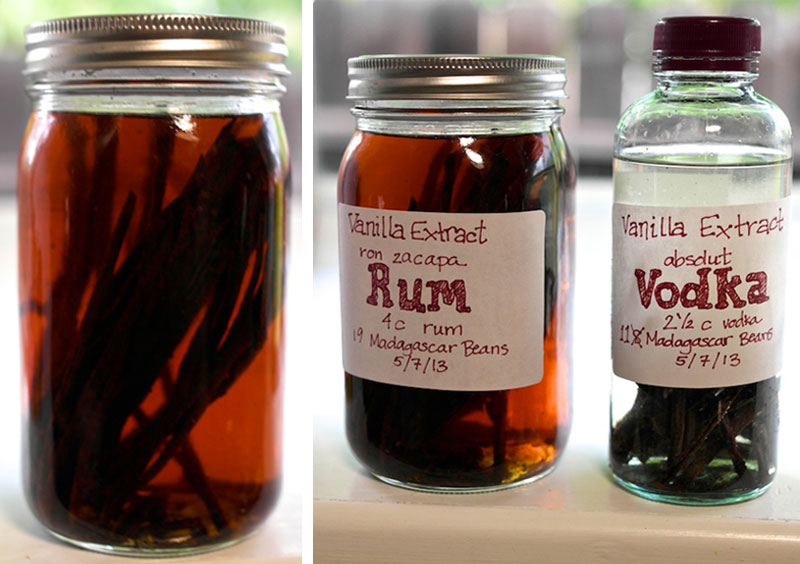
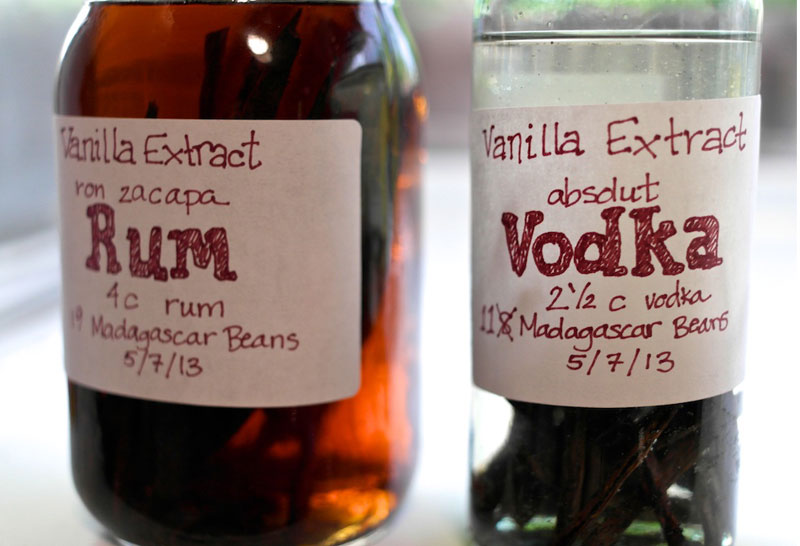
So…for the first batch we used 4 cups of rum. We love Ron Zacapa but any old rum will do. Be creative, a spiced rum might work really well too! For that 4 cups of rum we used 19 WHOLE vanilla beans (so 38 halves, you math whizzes). Depending on the height of the jar, make sure to cut the ends of any beans that are peaking over the top of the rum or vodka. You can just let those pieces sink to the bottom of the jar. For our vodka batch we used 2-1/2 cups of vodka and 11 WHOLE vanilla beans. I have a feeling the rum batch is gonna be amazing but we wanted to give the vodka recipe a shot too.
Like I said, make sure you label your creations. These bottles are gonna be sitting around your home for the next 2-6 months. Store them in a cool, dry place and for the first week give them a light shake every day. Then for the next 2-6 months pick them up and move things around whenever you think about it, maybe twice a week or so.
The final step to this process is bottling the extract. I’m kinda more excited about picking out the little bottles and designing the labels and packaging than I am about using the extract! But then again I’m not the chef in the house:) Look out for another post in the fall to see what I’ve come up with.
